6 Simple Steps to Create a Project Timeline

A project timeline also serves as a communication tool, ensuring that every team member and stakeholder is on the same page. By laying out tasks, milestones, and deadlines in a clear format, it eliminates confusion and helps prioritize what matters most. With a timeline in place, you can proactively identify potential bottlenecks, allocate resources efficiently, and maintain momentum, even when unexpected challenges arise. It’s not just about staying on track—it’s about fostering collaboration and driving the project toward a successful outcome.
What is a Project Timeline?
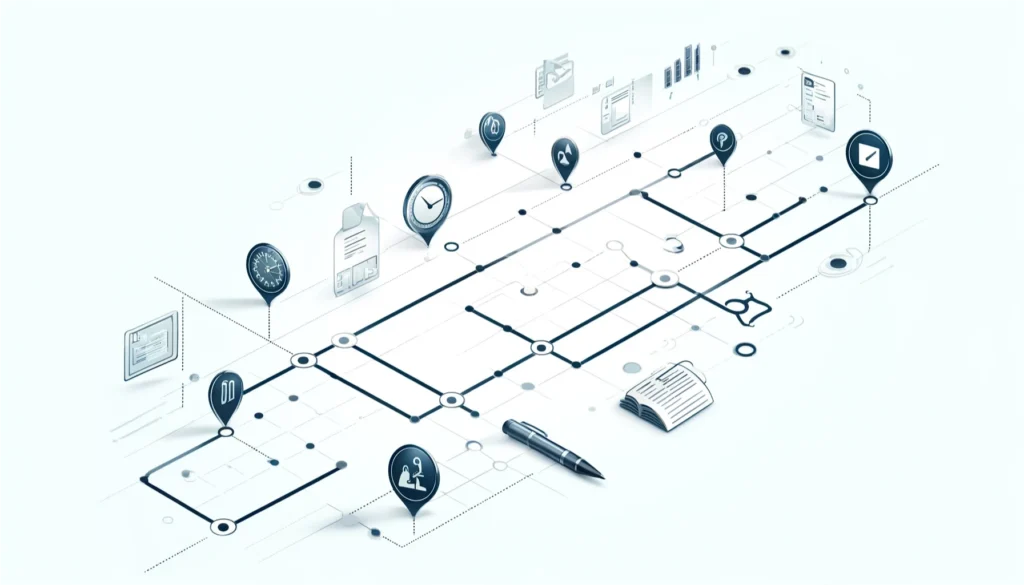
A project timeline is a detailed visual or written representation of a project’s schedule, outlining all tasks, milestones, and deadlines from start to finish. It helps project managers, teams, and stakeholders track progress, allocate resources, and ensure the project stays on schedule. A well-structured project timeline is crucial for effective planning and execution, as it provides a roadmap for achieving goals within the defined timeframe.

Key Elements of a Project Timeline:
- Project Start and End Dates: Clearly defines when the project begins and when it is expected to conclude.
- Tasks and Activities: Lists all the specific tasks required to complete the project, broken down into manageable steps.
- Milestones: Highlights significant checkpoints or achievements during the project to track progress.
- Dependencies: Identifies tasks that depend on the completion of others, helping to manage workflow and avoid delays.
- Resource Allocation: Assigns team members, tools, and materials to specific tasks based on availability and expertise.
- Deadlines: Sets due dates for tasks and milestones to ensure timely delivery.
- Updates and Adjustments: Allows for monitoring progress and making necessary changes to accommodate unforeseen challenges or delays.
A project timeline serves as both a planning tool and a communication framework, ensuring everyone involved is aligned and informed about the project’s progress and objectives.
How to Create a Timeline for a Project

Step 1: Define Your Project Goals
Why Clear Goals Matter
Every successful project starts with a clear understanding of its purpose. Goals provide the foundation for all planning activities and set the direction for the team. Without defined goals, you risk wasting time and resources on tasks that don’t align with the project’s purpose.
Breaking Down Goals into Objectives
Start by asking yourself: What is the project intended to achieve? Break this down into smaller, actionable objectives. For example, if your goal is to launch a website, your objectives might include designing the layout, creating content, and conducting usability testing.
Step 2: Identify Tasks and Deliverables
Understanding Key Deliverables
Deliverables are the tangible or intangible outcomes of your project. Identify these early on to ensure clarity. For example, in a software development project, deliverables might include a beta version, user manuals, or the final software package.
Creating a Task List
Once deliverables are defined, break them down into specific tasks. Use a task management tool or spreadsheet to capture these details. Group related tasks and establish milestones to keep the project organized.
Step 3: Determine Dependencies
Types of Dependencies
Tasks in a project often rely on each other. Dependencies can be categorized into:
- Finish-to-Start: Task A must finish before Task B starts.
- Start-to-Start: Task B starts simultaneously with Task A.
- Finish-to-Finish: Both tasks must finish together.
Tools for Identifying Dependencies
Project management tools like Peerbie, Microsoft Project, Trello, or Asana help you map out dependencies visually, reducing the risk of overlooking critical relationships.
Step 4: Estimate Time and Resources
Time Estimation Techniques
Accurate time estimation is vital for creating a realistic timeline. Techniques like the Three-Point Estimation (optimistic, pessimistic, and most likely durations) or PERT Analysis can be helpful.
Allocating Resources Effectively
Consider the availability of resources, including personnel, equipment, and budget. Overburdening your team can lead to burnout and missed deadlines, so aim for a balanced workload.
Step 5: Choose a Timeline Format
Types of Project Timeline Formats
There are various formats to consider:
- Gantt Charts: Ideal for visualizing task timelines and dependencies.
- Kanban Boards: Great for agile projects with dynamic workflows.
- Milestone Charts: Perfect for tracking major project phases.
Selecting the Right Format for Your Project
Choose a format that aligns with your project size, complexity, and team preferences. For a small team, a simple milestone chart might suffice, while a large, multi-phase project might require a detailed Gantt chart.
Step 6: Monitor and Adjust the Timeline
Tracking Progress
Set regular checkpoints to review progress. This ensures you’re on track and provides an opportunity to address any issues early.
Adapting to Changes
No project runs exactly as planned. Be prepared to adapt the timeline as new challenges or opportunities arise. Regularly communicating changes to the team is key to maintaining alignment.
Best Practices for Maintaining a Project Timeline
- Keep it flexible: Adjustments are inevitable, so build some buffer time into your plan.
- Communicate effectively: Ensure the team understands their roles and deadlines.
- Review regularly: Use weekly or bi-weekly updates to stay aligned.
Benefits of a Well-Structured Project Timeline
A clear timeline improves productivity, ensures accountability, and enhances team collaboration. It also helps stakeholders stay informed, making project management smoother and more effective.
Common Mistakes to Avoid
- Overcomplicating the timeline: Simplicity is key to usability.
- Ignoring resource constraints: Unrealistic resource allocation leads to delays.
- Failing to communicate changes: Keep everyone in the loop to avoid confusion.
Creating a project timeline doesn’t have to be overwhelming. By following these six steps—defining goals, identifying tasks, determining dependencies, estimating time, choosing a format, and monitoring progress—you can build a roadmap to success. Start with small projects, refine your approach, and soon, timeline creation will become second nature.

